Bringing the latest data into Pigment makes planning easier. This article explains import configurations - how you create them, review them, and and use them to run several imports from your Blocks.
What import methods are available in Pigment?
You can either import using a CSV file or by creating a connector in the Integrations section under Settings.
For more information on the different import methods in Pigment, see the following:
- Manually importing data using CSV files, see How to Import Data Manually into Lists.
- Importing data using integrations, see Active Pigment Connectors.
- Specific connection types, see Importing and Exporting Data.
- Using an API to trigger an import, see How to generate an import configuration ID and How to trigger an import with APIs.
Test your CSV format
To transfer data into Pigment, first export your data into a CSV format. Ensure that the data structure matches the format required for import, including consistent headers and the same CSV delimiter. You will need to manually import this data into Pigment once in order to define how Pigment should read the file and the appropriate mappings.
When you import using a CSV file, you’re prompted to select a CSV file. Ensure that the file settings are consistent with the required format. If there are mismatched settings, this can cause errors.
Import Data with a CSV in Pigment
For full instructions, see How to Import Data Manually into Lists.
The following steps are an overview of the manual Pigment import process:
- Open the Block where you want to import the data.
This can be a Transactions or Dimension List, or a Metric. - Click Import Data.
- In Step 1, configure your CSV file format to ensure Pigment reads it correctly.
This includes setting encoding, delimiters, data layout (flat or pivoted), and optional settings like load date and constant values.
For more information, see Step 1: Define the CSV file format. - In Step 2, map each column in your CSV file to the corresponding Pigment properties.
This includes setting formats for numbers and dates, customizing data definitions, and verifying each column’s alignment for accurate data import.
For more information, see Step 2: Map the Data. - When the Import Summary appears, click Save beside the new import configuration.
Give it a clear name and description to easily locate it for future imports.
Review an existing configuration
You can review an existing configuration to make adjustments or to make sure the configuration matches a new file.
- Open the Block with the configuration you want to review.
- Click Import data and then click the menu (...) next to the required configuration.
- Do one of the following:
- Edit the configuration.
- Copy the configuration ID.
- Create a new configuration based on this configuration.
- View the previous import summary.
- Rename or delete the import configuration.
You can also access these setting by opening the Block settings and clicking Import configurations.
You can also review configuration settings for an integration, where you can review the setup and how the data is mapped and parsed.
Run the import
CSV
To run a saved configuration, click Import Data. You’ve the choice to either set up a new import or to select a saved configuration. If your data source is a CSV file, you’ll be prompted to upload the file, after which the data will be imported. Ensure that the file settings and headers align with those specified in your saved configuration.
Integration
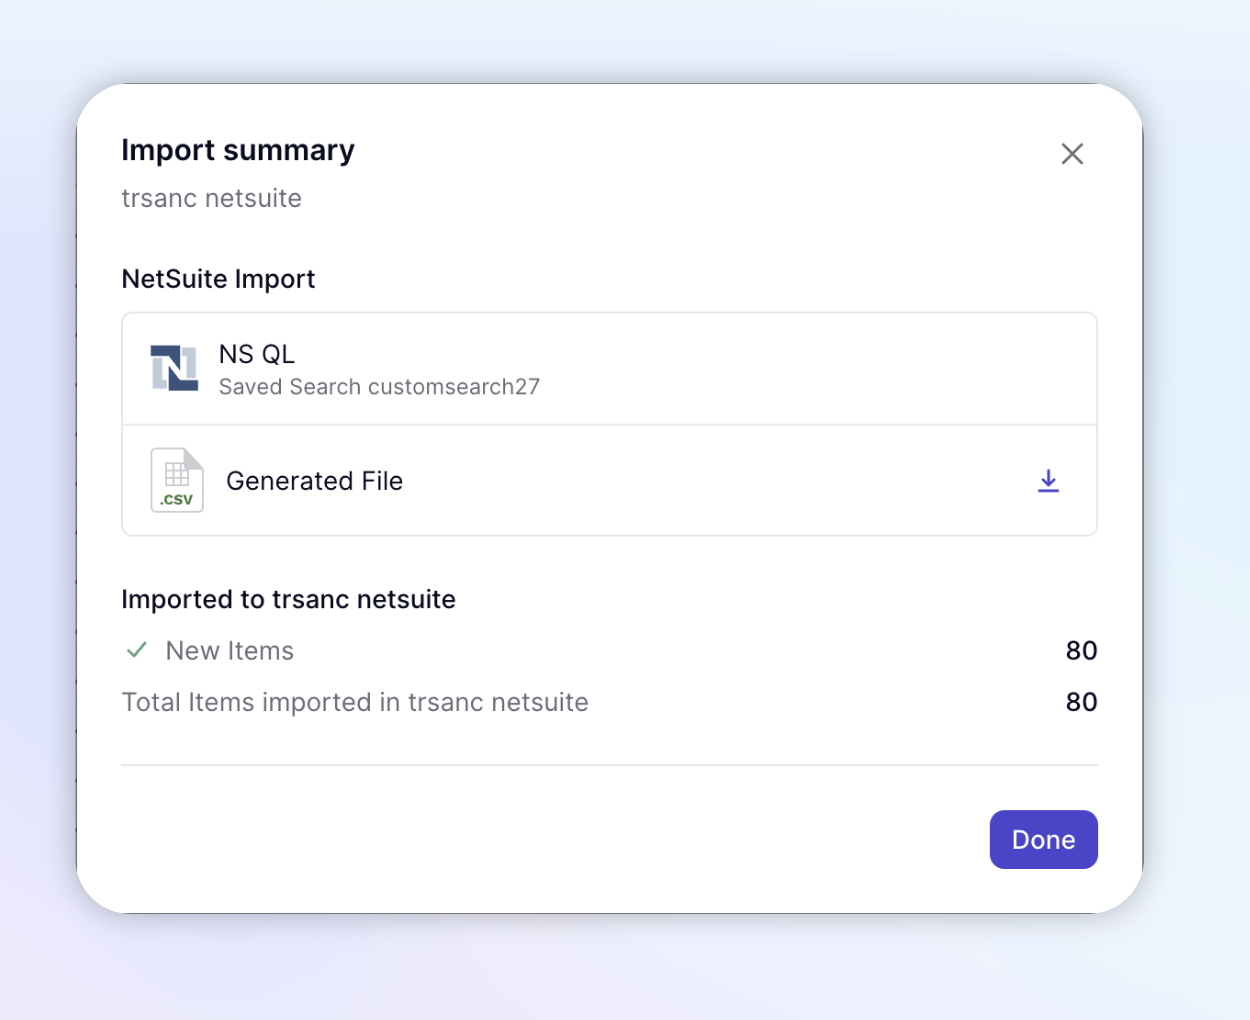
If you’re importing data with an integration, click Run to start the data import. After the import completes, you have the option to select Generate File, which creates a CSV output of the integration pipeline.

For all Transaction List imports with unique Properties, delete any existing data before running your setup to prevent duplicate entries. To do this, click Edit List, select all Items, and delete them. After clearing the List, you can proceed with your import.

