


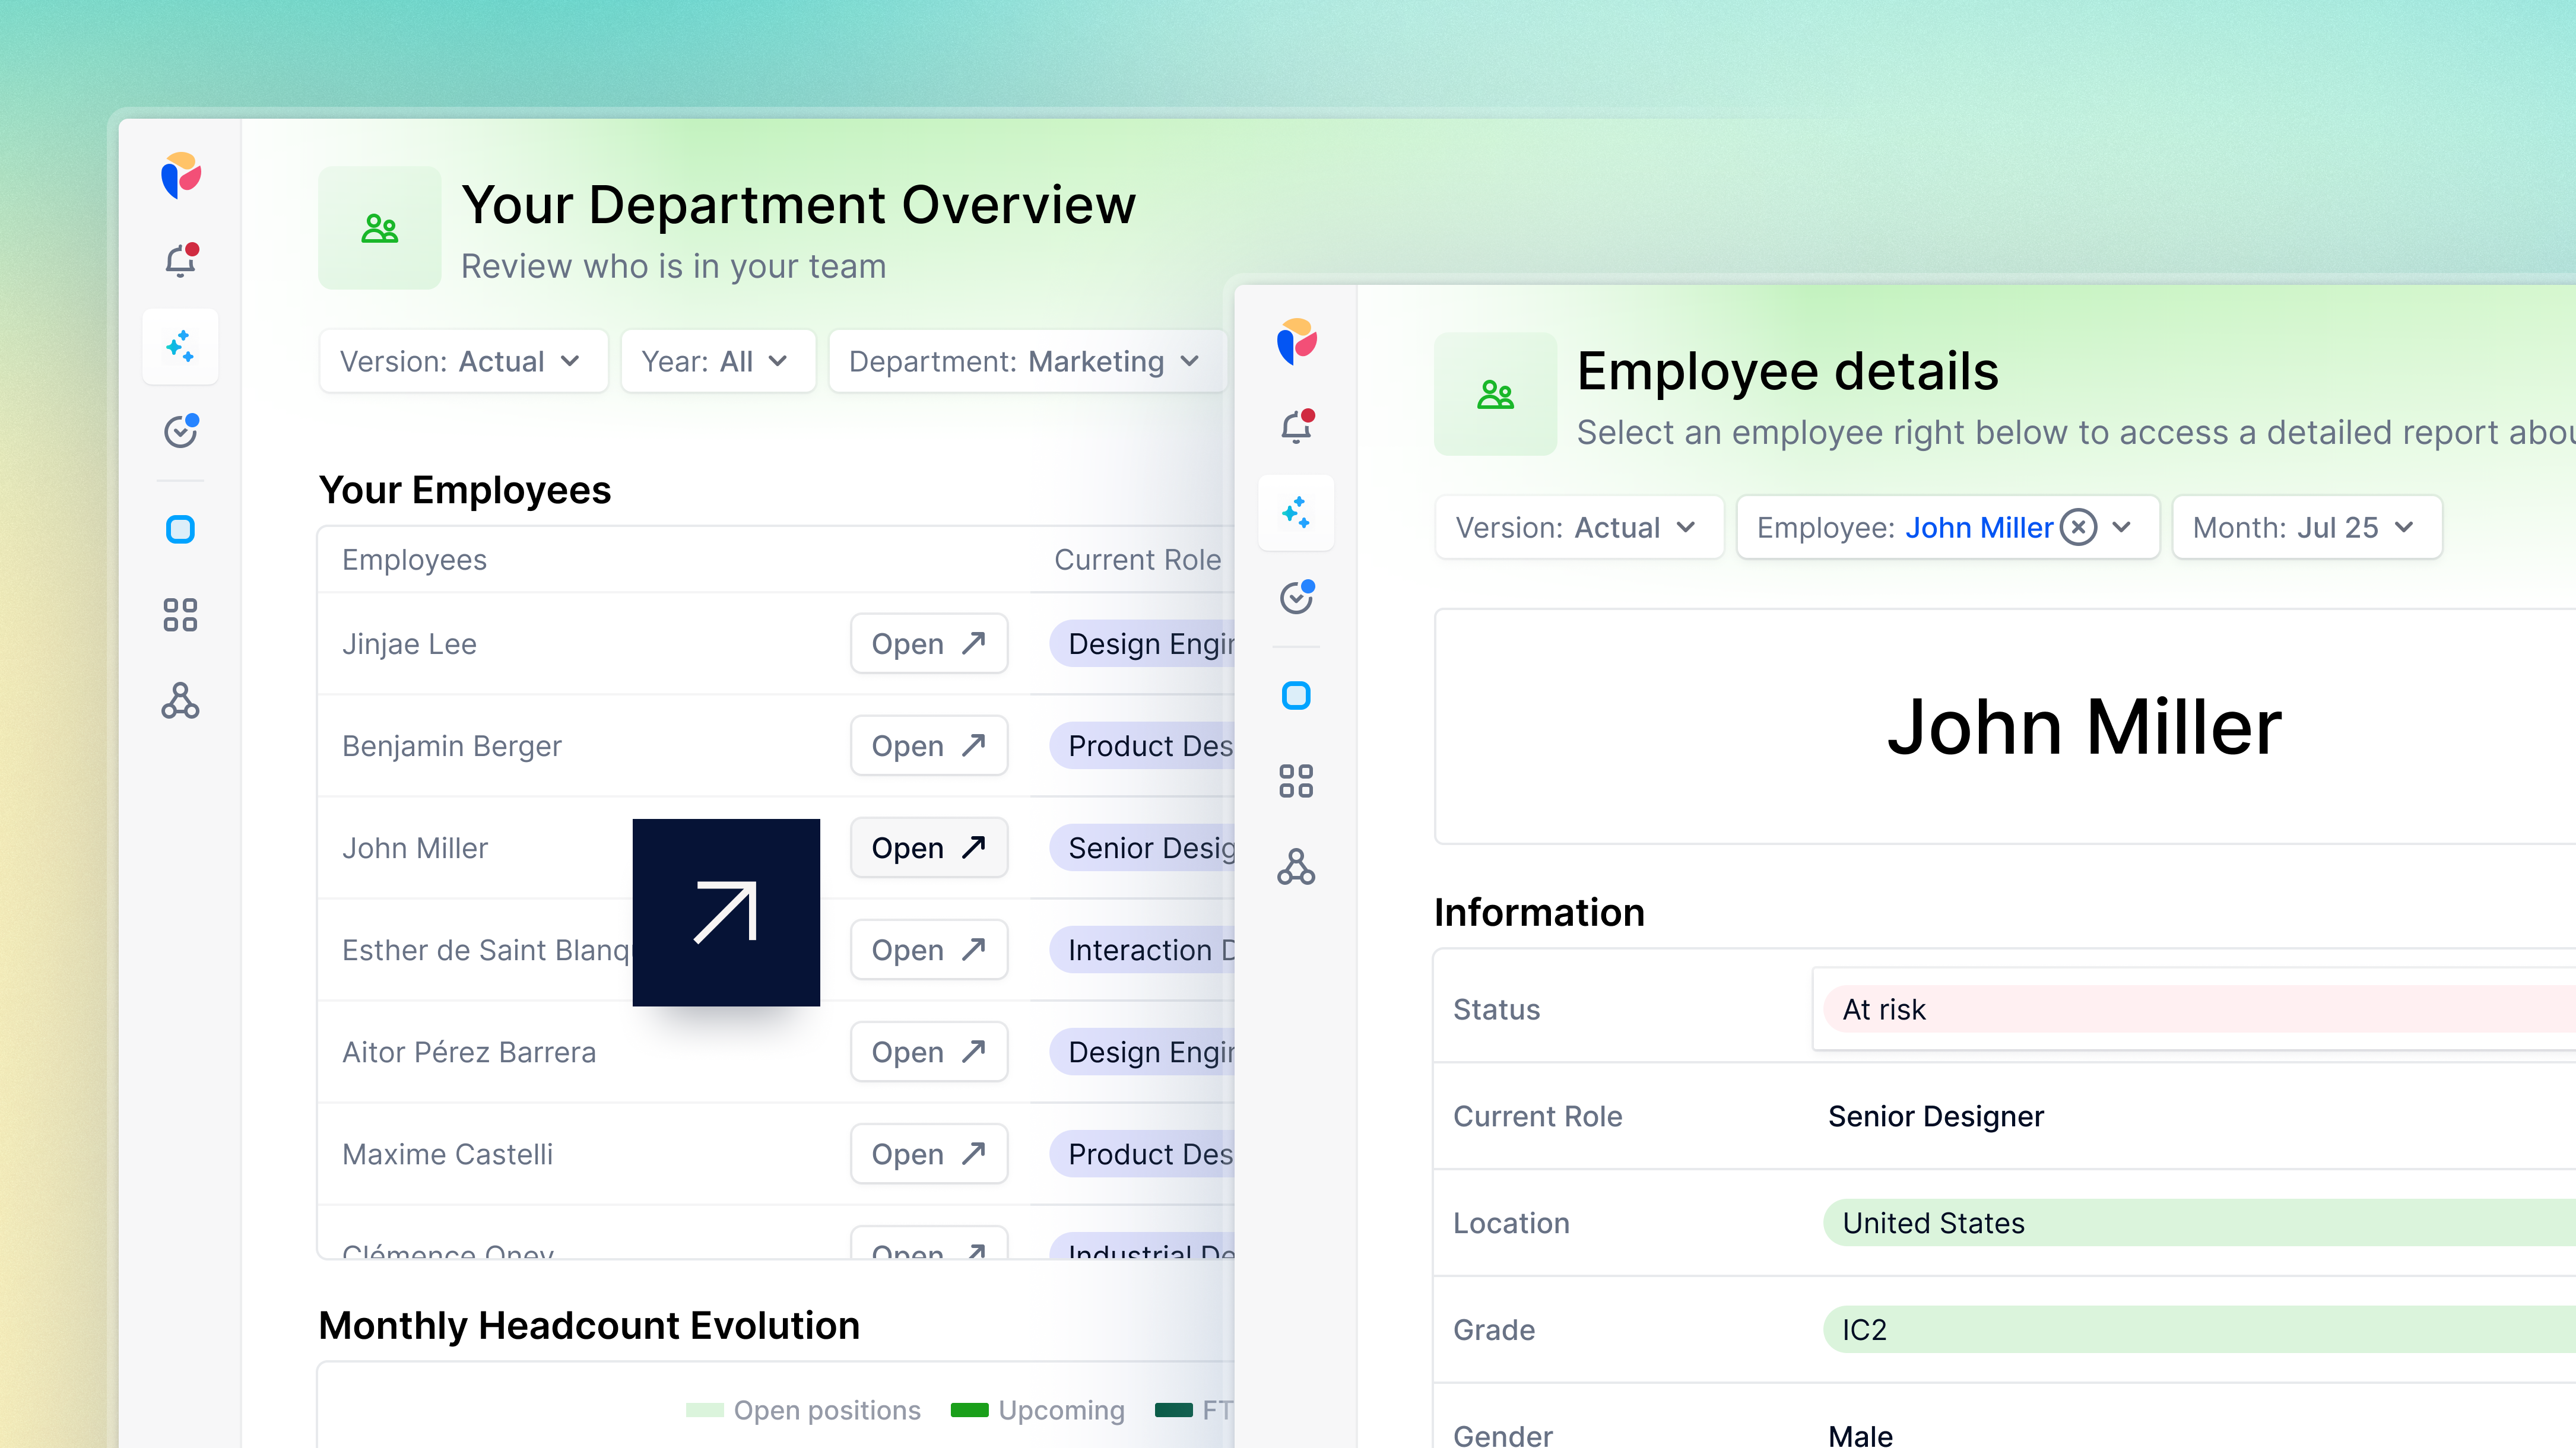
Add Action buttons to grid headers to guide Members through workflows by linking grid Items to Boards or Sequences with the current Page selections automatically applied. These buttons let users quickly dive into specific parts of a process while staying in context.
For example, link from a list of employees to a Board filtered to one person, or from a project grid to a Sequence for entering budget details. This article describes how to create and manage Action buttons in grids.
Before you begin
Keep the following in mind when using Action buttons in grid headers:
- Anyone can create and add Action buttons but only those with the Can Configure Public Views permission can save a public View.
- Action buttons can only be added to Metric and Table Views.
- Action buttons can only be added to Dimensions in Rows or Columns in the Pivot panel, with one button allowed per Dimension. They cannot be added to Scenario headers in the grid or Pivot panel.
- Action buttons can only link to Boards or Sequences within the same Application.
- Modelers are responsible for ensuring links are valid and that Members have the necessary access. The link will direct members to the target Board or Sequence regardless of their Access Rights. If they do not have access, the page will return a 404 error.
- When using Test & Deploy, ensure the Board context is correctly set in the target environment. The Board reference linked to the Action button is not automatically deployed and may need to be manually reselected in Production after deployment.
Preserve context in Boards and Sequences
When selected, an Action button directs Members to a target Board or Sequence and automatically applies the current Page selection. Members don’t need to reselect filters because relevant Page selections, including defaults, carry over seamlessly. This ensures they can continue their analysis or workflows without interruption.
For example, if Country is set to France, the destination Page opens with France already selected in the Page selector.
If there is a conflict between a user-defined Page and the Dimension Item that contains the Action button, then the priority goes to the button value. For example, if the user sets the page to France but clicks on Germany in a grid, then the Page will be set to Germany in the target Board or Sequence.
Create and manage Action buttons
You can add, edit, or remove Action buttons directly from a grid header cell or the Pivot panel.
Add an Action button
To add an Action button from the grid header cell:
- Hover over the grid header cell.
- Select the dropdown arrow or right-select the cell.
- Select Add a button to (Dimension name).
- Select Board or Sequence, then select the target Board or Sequence from the dropdown menu.
- Add a button label, display icon and icon position.
- Review your button in the Preview section.
- Select Apply.
- Select Save View.
To add an Action button from the pivot panel:
- Expand the View.
- Select Pivot.
- In Rows, select the three-dot menu on the Dimension you want to add a button to.
- Select Add Action button and complete steps 4 - 7 above.
- Select Save View.
Edit an Action button
To edit an Action button from a grid header cell:
From a grid header cell:
- Right-select the button in the grid header cell.
- Select Edit button in (Dimension name).
- Make your edits, then select Apply.
- Select Save View.
From the Pivot panel:
- Expand the View.
- Select Pivot.
- In Rows, select the three-dot menu next to the Action button you want to edit.
- Select Edit Action button and make your changes.
- Select Apply.
- Select Save View.
Remove an Action button
To remove an Action button from a grid header cell:
- Right-select the button in the grid header cell.
- Select Remove button in (Dimension name).
- Select Save View.
To remove an Action button from the pivot panel:
- Expand the View.
- Select Pivot.
- In Rows, select the three-dot menu on the Action button you want to remove.
- Select Remove Action button.
- Select Save View.