

Your Workspace has a Snapshot limit based on your subscription plan. It’s best practice to take a Snapshot of your data at the end of each planning phase. However, retaining unnecessary Snapshots can lead to significant storage consumption and organizational inefficiencies for Administrators.
How do Snapshot limits work?
Members must have a Builder account type or higher, along with the Display Application permission for the Application, to create Snapshots.
⚠️ Important
Only Workspace Admins and Application owners can delete Snapshots. If you don’t have the necessary permissions, contact a Workspace Admin to review and manage Snapshot usage in your Workspace.
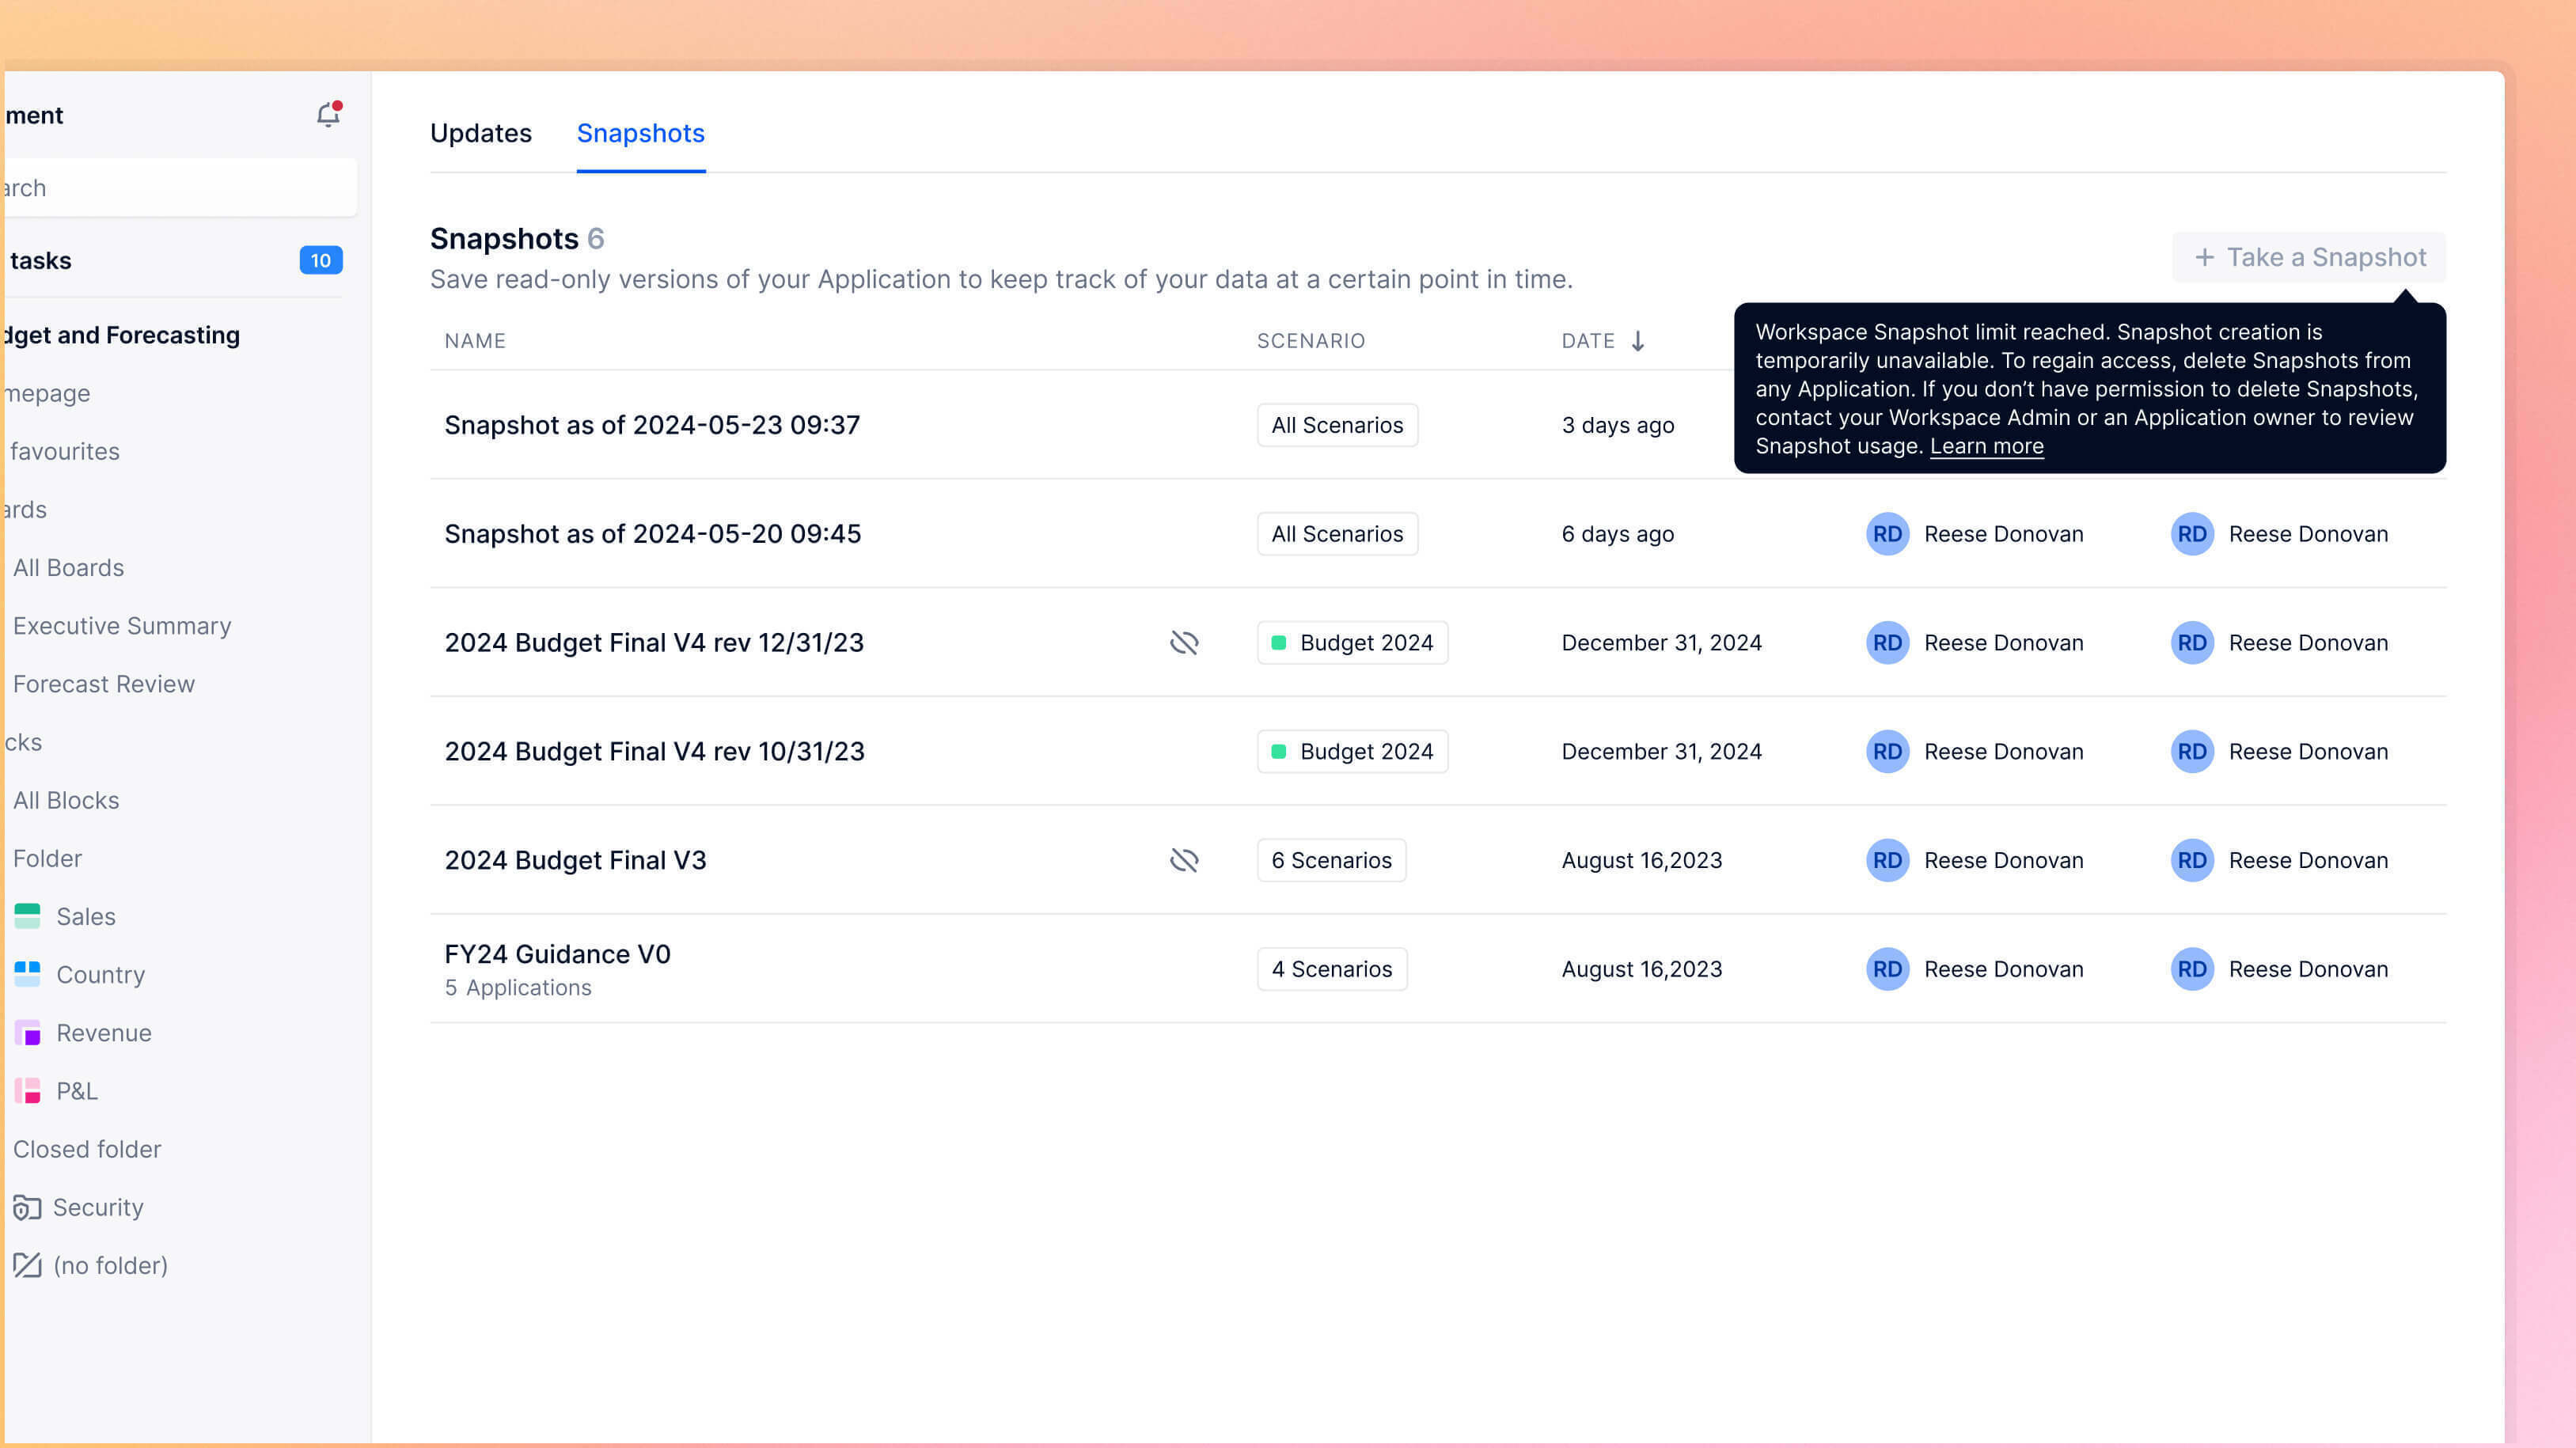
You’ll receive an alert in your Workspace if you reach your Snapshot limit and are blocked from taking additional Snapshots. If this happens, you must contact a Workspace Admin to review and delete unnecessary Snapshots.
When creating a Snapshot that includes multiple Applications, each Application is counted as an individual Snapshot toward your limit. To optimize your usage, regularly review and delete unnecessary Snapshots from your Workspace, even if you haven’t reached your limit. Scheduled Snapshots count against your Snapshot limit.
ℹ️ Note
Please contact your CSM if you have any queries about the Snapshot limit associated with your plan.
Manage Snapshot usage
⚠️ Important
Only Workspace and Security Admins can view the Snapshot Plan & Usage page.
Workspace Administrators can manage Snapshot usage from the Plan and Usage page. To do this:
- Go to your Workspace and select Settings from the sidebar.
- Select Plan & Usage.
- Under Usage, go to the Features section.
In the Features section, you’ll find an overview of Snapshot usage in your Workspace, including:
- The total number of Snapshots taken.
- The remaining Snapshot quota.
- A progress bar indicating Snapshot usage. If your Workspace approaches the Snapshot limit, the progress bar changes from blue to yellow as a warning to review Snapshots.
To review Snapshot usage in detail, select View details. The Snapshot Usage pane provides the necessary information to analyze and manage Snapshot usage for Applications, including:
- Application name
- Link to the live Application
- Total number of Snapshots in the Application
- List of all Snapshots per Application, including their names and respective owners
- Total number of Snapshots from Applications that you can’t access
Once you’ve identified the Applications to review, a Workspace Administrator or the Application Owner can evaluate and delete unnecessary Snapshots.
🎓 Pigment Academy
For detailed guidance on Workspace hygiene, explore our Maintain Your Model learning path.
Delete a Snapshot
You can delete Snapshots from an Application's Snapshot panel or the Plan & Usage page. The Snapshot Usage pane in the Plan & Usage page provides an additional way for Workspace Administrators to delete Snapshots from multiple Applications.
To delete a single Snapshot:
- Open your Workspace and go to Settings in the sidebar.
- Select Plan & Usage.
- Under Usage, go to the Features section.
- Select View Details to see available Applications.
- Hover over the Snapshot you want to delete and select Delete.
- Select Delete Snapshot to confirm.
Remove an Application from a Snapshot
Workspace Administrators can remove an Application from a multiple-Application Snapshot in the Snapshot Usage pane.
To remove an Application from a Snapshot:
- Open your Workspace and go to Settings in the sidebar.
- Select Plan & Usage.
- Under Usage, go to the Features section.
- Select View Details to see available Applications.
- Hover over the Application you want to remove and select the three dot menu, then select Remove Application from Snapshot.
- Select Remove Application to confirm.
Removing an Application from a Snapshot permanently deletes its associated data. Only dependencies between the removed Application and other Applications within the Snapshot will be retained. For more information on how to work with Snapshots, see Application Snapshots.